How To Keep Meat From Sticking To The Grill?
Why is Food Sticking to the Grill?
When it comes to grilling, one common issue many face is food sticking to the grill. This problem can be traced back to three main reasons, each crucial in how your meal turns out. Understanding these can help you better prepare your grill for an optimal cooking experience.
The first reason is the grill not being hot enough. Many instances of food sticking occur because the grill hasn’t been preheated to the right temperature. A hot grill helps create a naturally non-stick surface, where the warmth allows the meat to sear quickly, reducing the chances of it sticking.
The second reason revolves around the cleanliness of the grill. A dirty grill with leftover residues can act like glue, causing your food to stick. This is why cleaning the grill grates thoroughly before each use is essential.
Lastly, the lack of oil on either the food or the grill grates can lead to sticking.
How To Keep Food From Sticking To The Grill?
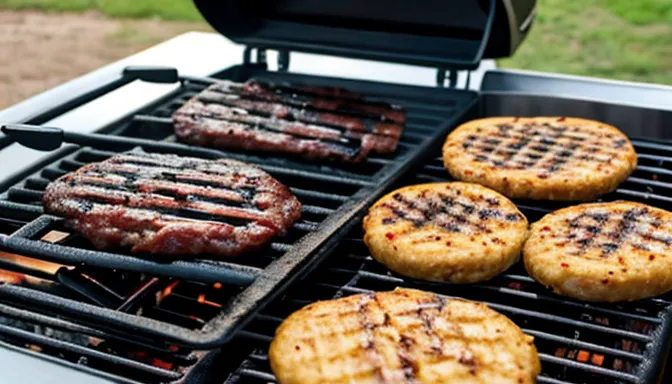
Proven Solutions to Stop Food From Sticking to the Grill
As a grilling enthusiast, I’ve learned that to stop food from sticking to the grill, it’s essential to prepare correctly and follow a few simple steps to ensure a great meal. Let’s explore these methods, starting with the second topic but keeping the first in mind for a cohesive approach.
Make It Hot, Keep It Clean, and Don’t Be Afraid of a Little Oil
1 – Get the Grill Hot
The first and foremost step is to heat up the grill for five to 10 minutes before you begin. Starting with a cold grill and cold food is a recipe for a disaster. A grill at the proper temperature allows the food to naturally release from the grates when it’s ready to be flipped or taken off.
2 – Clean the Grill—and Keep It Clean
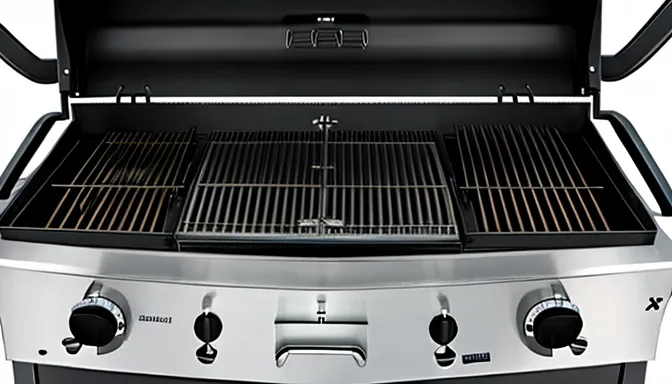
Next, always clean the grill before grilling. Any leftover food from the last time it was used can make your current meal stick. Don’t be lazy to clean after your last cookout session; a little effort here can save a lot of mess later. Heat up the grill and gently scrape it for a few seconds to keep it pristine.
3 – Oil the Thing You’re Grilling and the Grill
Finally, the use of oil is crucial. Lightly oil your protein before placing it on the grill and sparingly apply oil to the grates. Use a brush or an old rag with tongs to rub oil on the grates. The only exception might be burgers, which have a higher fat content, but for chicken, fish, or leaner meats, a good rub of oil is beneficial.
By focusing on these three key steps – heating the grill, keeping it clean, and using oil appropriately – you can enjoy hassle-free grilling every time.
Some Other Tips
When it comes to preventing steaks from sticking to the grill, there are a couple of additional methods I’ve found quite effective.
Non-Stick Spray
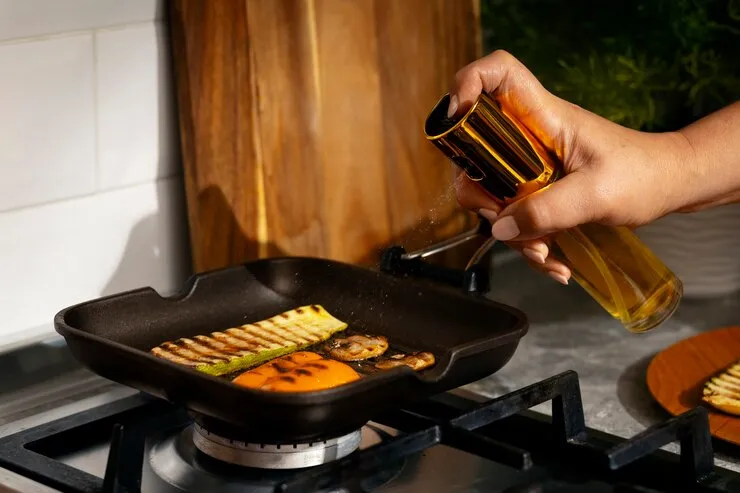
Alternatively, you can use a Non-Stick Spray, like PAM or any vegetable oil-based spray. The benefit here is the convenience of a spray bottle. But, keep in mind, that it’s only safe to apply before lighting your grill, as these sprays can be flammable on a hot grill. Misuse could turn your backyard barbecue into a fire hazard.
Aluminum Foil
Another method is using Aluminum Foil. Simply place your steaks on a piece of foil on the grill grate. While your Meat won’t stick, a problem with this method is that it lacks the distinct, smokey, charred flavor you get from grilling directly on the grates.
By integrating these techniques into your grilling routine, you can enjoy stick-free, flavorful steaks every time.
Easy Steps to Accomplish a Clean Grill in Minutes
Keeping your grill clean and ready for the next time you use it is simpler than it seems. By following three easy steps, you can accomplish a pristine grill in just minutes. Let me explain how I ensure my grill is clean and ready right before every use.
STEP 1: Assemble Followings
Firstly, assemble all your supplies. You’ll need cooking oil (I prefer canola oil due to its high heat tolerance), a small bowl, paper towels, and one or two sturdy grill brushes. The Grill Wizard Brush and 16″ locking tongs are my go-to for grilling.
STEP 2: Heat the Grill
Heat the grill until it’s screaming hot. For a gas grill, turn it to high and close the lid to let it heat for 10-15 minutes. The photo on the left shows a cold, dirty grill with food remnants from the last time it was used, while the one on the right shows it heating up.
The residue will blacken and turn to ash, making it helpful to scrape off the charred food ashes. This makes it easier to release any stuck-on food.
STEP 3: Use a Grill Brush to Scrape the Burnt Food from the Grill
Finally, use a grill brush to scrape any burnt food from the grill. A Brillo pad or scrubby also cleans the grill grates effectively with a bit of elbow grease. It only takes a few seconds, seriously.
Step 4: Season the Grill Grates with Oil
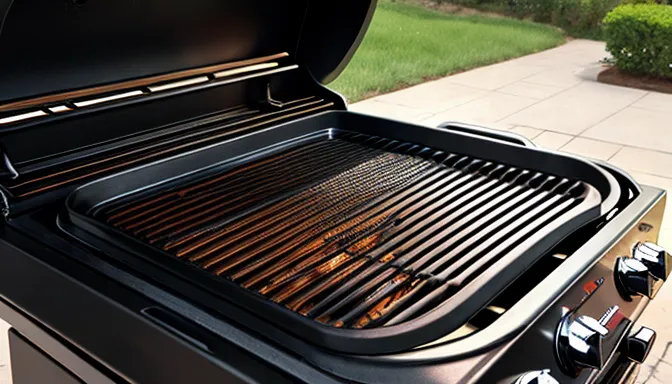
Season your grill grates with oil to create a non-stick surface. Use a wad of paper towel, held with tongs, and pour a small amount of oil into a bowl. Dip the end of the towel in the oil until it’s saturated but not dripping, as excess oil can cause flame up on a hot grill.
Step 5: Quickly Drag the Oily End of the Paper Towel Over the Grill Grates
Quickly (to avoid the paper towel from burning), drag the oily end of the paper towel over the grill grates. This creates a shiny, heat-treated non-stick surface on the grates, ensuring that your food won’t stick when you add it.
Step 6: Close the Grill Lid and Let It Heat Up Again
After oiling, close the grill lid and heat the grill again. When you add your food to a hot grill, in most cases, it won’t stick or dry out. A very hot grill for the first few minutes of cooking seals in the juices and makes the meat less likely to stick. Then, you can turn down the heat to continue cooking.
By following these steps, you ensure a clean, well-maintained grill that’s always ready for your next barbecue adventure.
Aluminum Foil Substitute
If you don’t have a grill brush, aluminum foil can be a great substitute. Just wad up a piece, grab it with tongs, and you’ve got a DIY solution that works quite well in a pinch.
By following these steps each time, I’ve found that I can keep my grill in great condition, ready for each cooking session.
Don’t Let Crud Build Up on Your Grill!
To prevent the build-up of crud on your grill, it’s crucial to heat it and scrape the grates every time before you start grilling. Ignoring this can lead to a major, time-consuming, and messy cleaning job later on.
This Is Why I Prefer to Clean My Grill Before I Use It Each Time
I always prefer to clean my grill before each use, rather than after. It’s about being ready for grilling without the hassle. Imagine having just cooked your meal, sat down to eat, and then having to get up to reheat or clean a cold grill. A cleaned and oiled grill is more efficient and gets you grilling faster.
Another Important Tip: Added Food on a Hot Gril
Another tip: add your food to a hot grill and don’t flip it too soon. Let it sear on one side. This is crucial when cooking proteins; they firm up and are ready to release when they start releasing easily. Cook them a bit longer each time, and you’ll find they stick less, regardless of how clean or dirty your grill is.
UPDATE ABOUT USING GRILL MATS
Since I first wrote this post, a new technique for stick-free grilling has entered my grilling arsenal: non-stick, heat-resistant grill mats. These mats make for a mess-free experience, and I’ve been amazed at how clean my grill stays while using them.
Food doesn’t stick, you can rotate and remove your grilled food easily, and there’s no worry about grease or sauces sticking to the grates or falling inside. The mats stay put right through the cooking process.
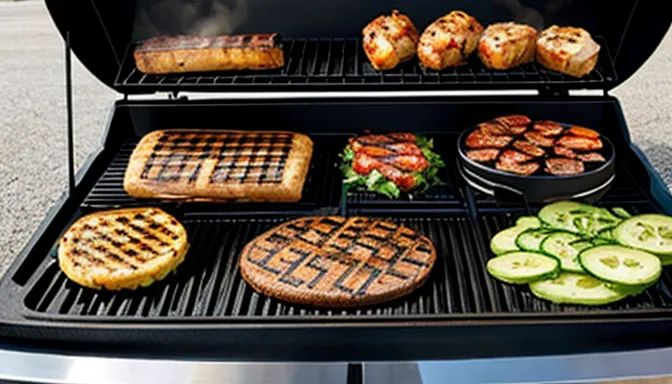
After use, just let them cool, then wash them in the sink or dishwasher. Plus, they still impart that great flavor and grill marks we all look for. If you’ve never tried them, grill mats can change your grilling game. They fit easily onto most grill grates – I use 2 mats for mine.
How to Keep Burgers from Sticking to the Grill?
Preventing burgers from sticking to the grill, unlike steaks, involves a few different procedures due to their unique chemical composition. To craft the perfect burger, start by lightly coating your patty with cooking oil or using a non-stick spray.

This is crucial, especially if you’re working with a cold grill to avoid a burst of flames from a burning grill. Creating a non-sticky surface can also be achieved naturally by cutting an onion in half and using a fork for support while rubbing its inside on the warm grill, leaving behind a residue that acts as a barrier.
This trick not only prevents sticking but also adds a distinct flair to your burgers or sandwiches, especially when paired with grilled onions. Before grilling any vegetable or meat, it’s comfortable to use a paper towel dipped in oil as a precaution, applying it to the grates with tongs to prevent excess dripping and flame-ups.
Gently drag the oiled towel over the grates to stop food from sticking. Experts recommend only flipping your burgers once they sear properly on the surface, ensuring a perfect cook every time.
How to Keep Chicken from Sticking to the Grill?
Grilling chicken without it sticking can be trickier than other meats like steak or a burger patty. The key is in the preparation – seasoned and lightly coated with olive oil or canola oil. Unlike grilling a whole chicken, which can be inappropriate due to its size and shape, grilling individual parts of the bird requires its fair share of attention.
For example, when placing chicken skin side down, it tends to be smoother and less likely to stick to the grates compared to the bony side. A common mistake is to flip too early, causing the meat to stick.
Instead, wait for the chicken to release naturally before flipping to the other side. Sometimes, it’s best to wait a minute before attempting to flip, allowing the chicken to properly sear.
In contrast, when grilling steak, the process might seem more straightforward. Ensure your steak is at room temperature and your grates are hot. The temperature difference between a cool steak and a hot grill is crucial.
This prevents the steak from sticking and helps to peel off the skin smoothly. These suggestions solve the common problem of meats sticking on the grill. Regular rubbing of oil on the meat, cleaning the grill regularly, and ensuring it’s well preheated before placing the meat are tips every chef swears by for that sizzling, hot, charred taste.
How to Keep Steak from Sticking to the Grill?
Keeping your steak from sticking to the grill can be a bit agonizing, especially if you’re aiming for that perfect exterior coating. When flipping the meat, ensuring the outer layer is well seasoned and separates easily is key to releasing those nutritious juices for a healthy meal.
There are several steps to prevent this frustrating scenario. Start by using a wire grill brush to scrub the warming grates, removing any hardened sticky materials. This step is crucial to avoid any roast chemicals or hazardous health risks from chemical substances transferring to your plates.
Always keep your grill clean. Before grilling, apply a thin layer of vegetable oil or olive oil and preheat your grill to create a barrier for a non-stick surface. Be cautious with oil spray; it’s inflammable and should only be used when the grill is turned off and cold.
An alternative to the regular method is using aluminum foil to prevent the steak from attaching, though it’s a last option as it may not give the charred, brownish look achieved when grilling directly.
There is Some Other Solutions For Different Types of Grill
How to Keep Food from Sticking to Weber Grill?
Light Oiling and Avoiding Sugary Marinades
For a Weber grill, lightly oiling the barbecue grill is essential. It forms a physical barrier that helps in cooking without the annoyance of sticking. While seasoning helps, one should avoid using sugary marinades, which can act like glue, causing the food to stick more easily.
How to Keep Food from Sticking to Blackstone Grill?
Quick Tips for Preventing Sticky Situations
For a Blackstone grill, the key is to keep the griddle clean and well-seasoned. Before cooking, use a little oil, preferably a high-smoke oil that’s appropriate for griddle use.
Ensure you choose the right griddle seasoning oil. Always let the griddle get hot before you start cooking. After use, avoid harsh chemical cleaners; instead, clean your steel or cast iron griddle top with milder methods.
How to Keep Food from Sticking to Cast Iron Grill?
Prior Preparation and Proper Cleaning
Before cooking on a cast iron grill, it’s crucial to apply a teaspoon of oil to the skillet. Whether on the stovetop or in the oven, heat it gradually to reduce sticking. This allows the cookware to heat evenly.
After use, let it cool, then remove any stuck-on food with a pan scraper. For the final touch, scrub it with a nylon brush or a non-scratch pad, and always hand dry. Don’t forget to apply a generous layer of oil for maintenance.
Conclusion:
In conclusion, mastering the art of grilling without the annoyance of meat sticking to the grill is all about attention to detail and preparation.
Whether you’re cooking chicken, steak, or burgers, the key lies in ensuring your meat is properly seasoned and oiled, your grill is adequately heated and cleaned, and your timing in flipping the meat is just right.
Each type of meat may require its specific approach, but the overarching principles of heat management, oil use, and grill cleanliness remain constant.
Embracing these techniques not only enhances the flavor and texture of your grilled dishes but also makes the entire cooking process smoother and more enjoyable.
With these tips in hand, you’re well on your way to becoming a grill master, turning every barbecue into a delightful culinary experience.
People also ask
Why Do People Spray Water on Meat on Grill?
Adding Moisture and Flavor
One of the two main reasons to spritz or spray water on smoked meat is to add back moisture and flavor. This is especially important during smoking, a naturally dry process where juiciness can be lost. It ensures that the meat remains juicy and tender.
Even Cooking
The second reason for spraying water is to help the meat cook more evenly. This technique is often overlooked but is a secret weapon for many grill masters. As someone who’s spent hours behind a grill, I can attest to the difference it makes in achieving that perfect, evenly-cooked piece of meat.


